Getting Started
Workspace
Running through the following commands will install the latest release of octoDNS and set up a place for your config files to live. To determine if provider specific requirements are necessary see the Providers below.:
$ mkdir dns
$ cd dns
$ python -m venv env
...
$ source env/bin/activate
# provider-specific-requirements would be things like: octodns-route53 octodns-azure
$ pip install octodns <provider-specific-requirements>
$ mkdir config
Installing a specific commit SHA
If you’d like to install a version that has not yet been released in a repeatable/safe manner you can do the following. In general octoDNS is fairly stable in between releases thanks to the plan and apply process, but care should be taken regardless.:
$ pip install -e git+https://git@github.com/octodns/octodns.git@<SHA>#egg=octodns
Config
We start by creating a config file to tell octoDNS about our providers and the
zone(s) we want it to manage. Below we’re setting up a YamlProvider to
source records from our config files and both a Route53Provider and
DynProvider to serve as the targets for those records. You can have any
number of zones set up and any number of sources of data and targets for
records for each. You can also have multiple config files, that make use of
separate accounts and each manage a distinct set of zones. A good example of
this this might be ./config/staging.yaml & ./config/production.yaml.
We’ll focus on a config/production.yaml.
Zone Config
octoDNS supports dynamically building the list of zones it will work with when
source providers support it. The most common use of this would be with
YamlProvider and a single dynamic entry to in effect use the files that
exist in the provider’s directory as the source of truth. Other providers may
support the list_zones method and be available to populate zones
dynamically as well. This can be especially useful when using octodns-dump
to create an initial setup from an existing provider.
An example config would look something like:
---
providers:
  config:
    class: octodns.provider.yaml.YamlProvider
    directory: ./config
    default_ttl: 3600
    enforce_order: True
  ns1:
    class: octodns_ns1.Ns1Provider
    api_key: env/NS1_API_KEY
  route53:
    class: octodns_route53.Route53Provider
    access_key_id: env/AWS_ACCESS_KEY_ID
    secret_access_key: env/AWS_SECRET_ACCESS_KEY

zones:
  # This is a dynamic zone config. The source(s), here `config`, will be
  # queried for a list of zone names and each will dynamically be set up to
  # match the dynamic entry.
  '*':
    sources:
      - config
    targets:
      - ns1
      - route53
Quick Example Record
Now that we have something to tell octoDNS about our providers & zones we need
to tell it about our records. We’ll keep it simple for now and just create a
single A record at the top-level of the domain.
config/example.com.yaml:
---
'':
  ttl: 60
  type: A
  values:
    - 1.2.3.4
    - 1.2.3.5
Further information can be found in Records documentation.
Noop
We’re ready to do a dry-run with our new setup to see what changes it would
make. Since we’re pretending here we’ll act like there are no existing records
for example.com. in our accounts on either provider.:
$ octodns-sync --config-file=./config/production.yaml
...
********************************************************************************
* example.com.
********************************************************************************
* route53 (Route53Provider)
*   Create <ARecord A 60, example.com., [u'1.2.3.4', '1.2.3.5']>
*   Summary: Creates=1, Updates=0, Deletes=0, Existing Records=0
* dyn (DynProvider)
*   Create <ARecord A 60, example.com., [u'1.2.3.4', '1.2.3.5']>
*   Summary: Creates=1, Updates=0, Deletes=0, Existing Records=0
********************************************************************************
...
There will be other logging information presented on the screen, but successful runs of sync will always end with a summary like the above for any providers & zones with changes. If there are no changes a message saying so will be printed instead. Above we’re creating a new zone in both providers so they show the same change, but that doesn’t always have to be the case. If, to start, one of them had a different state, you would see the changes octoDNS intends to make to sync them up.
Making changes
WARNING: octoDNS assumes ownership of any domain you point it to. When you tell it to act it will do whatever is necessary to try and match up states including deleting any unexpected records. Be careful when playing around with octoDNS. It’s best to experiment with a fake zone or one without any data that matters until you’re comfortable with the system.
Now it’s time to tell octoDNS to make things happen. We’ll invoke it again with
the same options and add a --doit on the end to tell it this time we
actually want it to try and make the specified changes.:
$ octodns-sync --config-file=./config/production.yaml --doit
...
The output here would be the same as before with a few more log lines at the end as it makes the actual changes. After which the config in Route53 and Dyn should match what’s in the yaml file.
Workflow
In the above case we manually ran octoDNS from the command line. That works and it’s better than heading into the provider GUIs and making changes by clicking around, but octoDNS is designed to be run as part of a deploy process. The implementation details are well beyond the scope of this README, but here is an example of the workflow we use at GitHub. It follows the way GitHub itself is branch deployed.
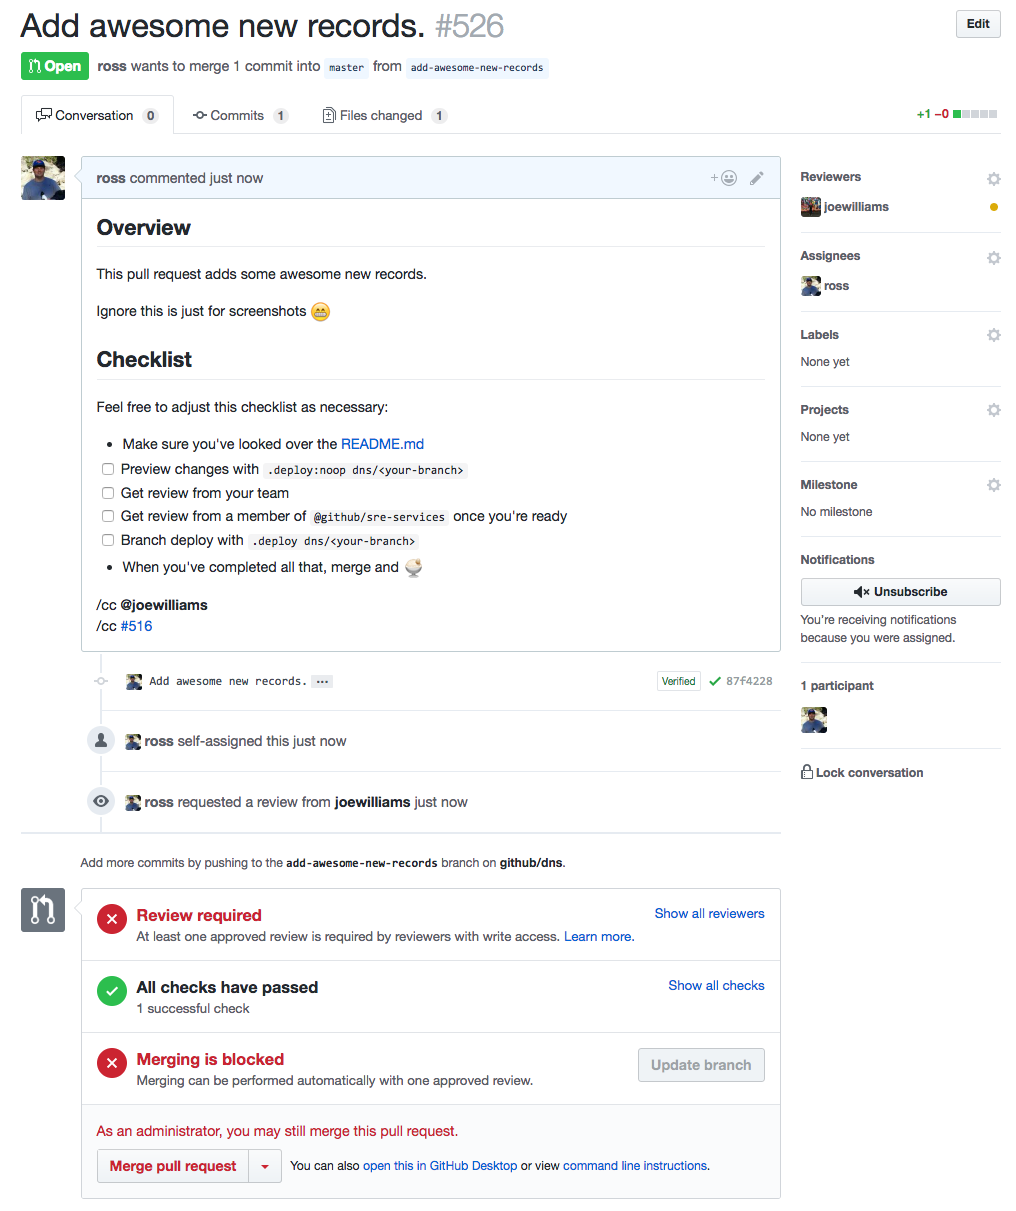
The first step is to create a PR with your changes.
Assuming the code tests and config validation statuses are green the next step is to do a noop deploy and verify that the changes octoDNS plans to make are the ones you expect.

After that comes a set of reviews. One from a teammate who should have full
context on what you’re trying to accomplish and visibility into the changes
you’re making to do it. The other is from a member of the team here at GitHub
that owns DNS, mostly as a sanity check and to make sure that best practices
are being followed. As much of that as possible is baked into
octodns-validate.
After the reviews it’s time to branch deploy the change.

If that goes smoothly, you again see the expected changes, and verify them with
dig and/or octodns-report you’re good to hit the merge button. If there
are problems you can quickly do a .deploy dns/main to go back to the
previous state.
Other Uses
Syncing between providers
While the primary use-case is to sync a set of yaml config files up to one or
more DNS providers, octoDNS has been built in such a way that you can easily
source and target things arbitrarily. As a quick example the config below would
sync githubtest.net. from Route53 to Dyn.:
---
providers:
  route53:
    class: octodns.provider.route53.Route53Provider
    access_key_id: env/AWS_ACCESS_KEY_ID
    secret_access_key: env/AWS_SECRET_ACCESS_KEY
  dyn:
    class: octodns.provider.dyn.DynProvider
    customer: env/DYN_CUSTOMER
    username: env/DYN_USERNAME
    password: env/DYN_PASSWORD

zones:
  githubtest.net.:
    sources:
      - route53
    targets:
      - dyn
Dynamic sources
Internally we use custom sources to create records based on dynamic data that changes frequently without direct human intervention. An example of that might look something like the following. For hosts this mechanism is janitorial, run periodically, making sure the correct records exist as long as the host is alive and ensuring they are removed after the host is destroyed. The host provisioning and destruction processes do the actual work to create and destroy the records.:
---
providers:
  gpanel-site:
    class: github.octodns.source.gpanel.GPanelProvider
    host: 'gpanel.site.github.foo'
    token: env/GPANEL_SITE_TOKEN
  powerdns-site:
    class: octodns.provider.powerdns.PowerDnsProvider
    host: "internal-dns.site.github.foo"
    api_key: env/POWERDNS_SITE_API_KEY

zones:
  hosts.site.github.foo.:
    sources:
      - gpanel-site
    targets:
      - powerdns-site